
Beginner's Guide: Growing Cannabis from Clone
Guide Overview (Table of Contents)
- Getting Started: Why Clones and What You'll Need
- Rooting and Establishing Your Clone
- Vegetative Growth: Building a Strong Plant
- Transitioning to Flower
- Flowering Stage: Feeding, Training, and Troubleshooting
- Harvest, Dry, and Cure
(Chapters 2–6 to follow — this response covers Chapter 1 in full)
Chapter 1: Getting Started — Why Clones and What You'll Need
If you're new to growing your own cannabis, starting with a clone instead of a seed is one of the easiest ways to guarantee a successful first harvest. This chapter covers everything you need before you bring your first clone home: why clones make sense for beginners, where to actually source one, the basic equipment you'll need, and the light schedule that will guide your plant from its first day to harvest.
1. Advantages of Clones Over Seeds
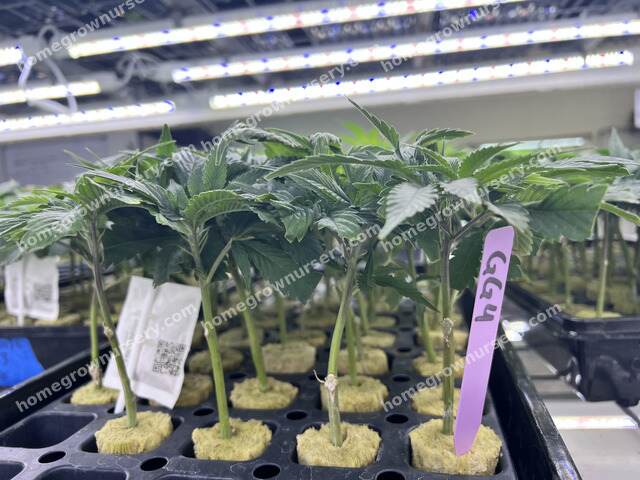
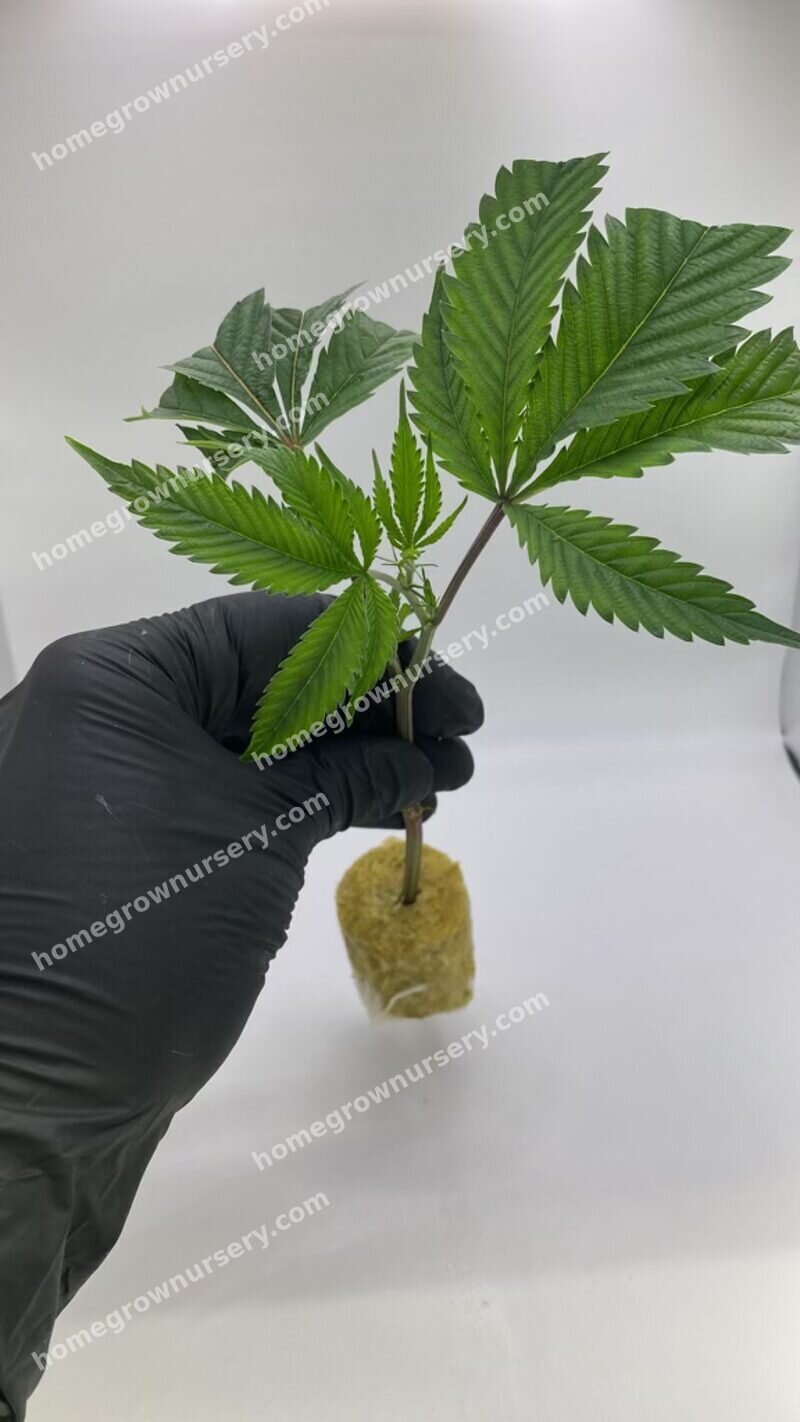
A cannabis clone is a cutting taken from a mature "mother" plant, rooted to create a genetically identical new plant. For beginners, that comes with some real advantages over starting from seed:
- No germination gamble. Seeds don't always sprout — even under ideal conditions, a portion of any seed batch simply won't germinate. A healthy clone skips this step entirely; it's already a living plant that just needs to root.
- You know exactly what you're getting. Because a clone shares identical genetics with its mother plant, you can expect the same smell, structure, growth pattern, and potency every time. There's no guessing about whether you'll end up with a plant that doesn't match what you wanted. Check our strain comparison guide to help pick the right genetics for your space.
- Guaranteed female. Only female cannabis plants produce the buds growers want. Clones are cut from female mother plants, so you skip the process of identifying and removing male plants partway through your grow — something seed-growers have to watch for.
- Faster path to harvest. Because a clone starts life past the germination and early seedling stage, it reaches maturity noticeably faster than a plant grown from seed — often shaving two to three weeks off your total grow time.
- Beginner-friendly learning curve. Skipping germination and sex identification removes two of the trickiest parts of growing from seed, leaving you free to focus on the fundamentals: light, water, and nutrients.
The trade-off worth knowing: a clone can carry over any pests, pathogens, or weaknesses that existed in its mother plant, so sourcing from a clean, reputable supplier (next section) matters more than it does with seeds.
2. Where to Get Clones
Not all clone sources are equal, and where you get yours has a big impact on how smoothly your first grow goes.
Local dispensaries. In states/regions where cannabis cultivation is legal, many licensed dispensaries sell clones directly, often labeled by strain. Buying local has clear advantages for a beginner:
- You can visually inspect the clone before buying — look for firm stems, vibrant green leaves, and no signs of pests, mold, or yellowing.
- No shipping stress on the plant, which means less transplant shock.
- Staff can usually tell you the strain's flowering time, expected yield, and growing quirks.
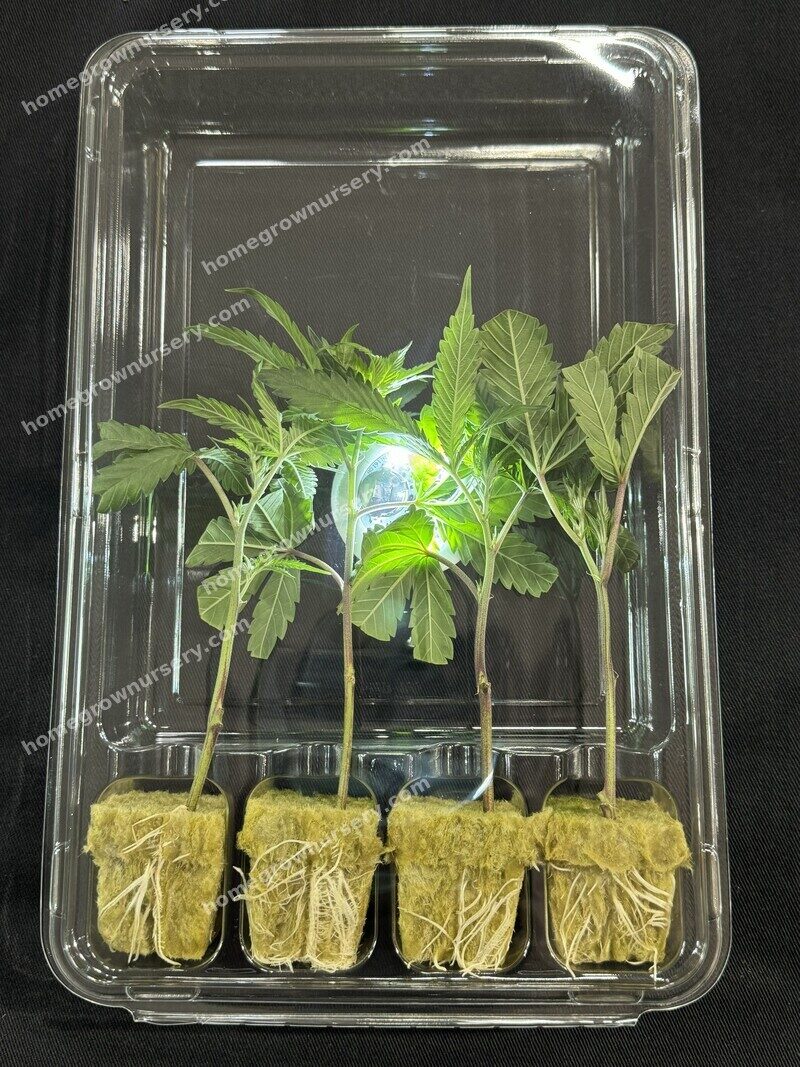
Clone shipping services. Some licensed nurseries and seed banks now ship rooted clones or "teens" (slightly more mature clones) directly to your door in states where this is legal. Browse our current clone inventory to see available strains, or check state-specific pages like California, Oregon, Colorado, and Arizona for shipping availability and local cultivation laws. This opens up access to strains that may not be available locally, but comes with a few extra considerations:
- Clones are more fragile in transit than seeds — ask the supplier about their packaging before you order. See our clone shipping and packaging page for how we handle this.
- Expect to pay for expedited shipping; a clone sitting in a box for days will struggle.
- Always review the supplier's refund or replacement policy before purchasing. Read the fine print on what's actually covered — some companies only guarantee against dead-on-arrival clones, while others also cover damaged or missing shipments. Check the claim window (often 24–48 hours from delivery), whether photo proof is required, and if you're responsible for return shipping. Reputable sellers will replace or refund clones that arrive dead, visibly damaged, or that never show up, but policies vary widely, so confirm this upfront rather than assuming.
- Quarantine any shipped clone away from other plants for a few days and inspect it closely before introducing it to your grow space, since pests can hitch a ride.
A note on legality: Cannabis cultivation laws vary significantly by state and country, including rules around plant counts, clone sales, and shipping across state lines. Confirm your local regulations before purchasing or transporting clones — see our state-by-state legal guides for California, Washington, Michigan, Alaska, and Connecticut.
3. Basic Equipment You'll Need
You don't need a professional setup to grow a healthy plant from clone, but a few essentials will make the difference between a clone that thrives and one that struggles. See our indoor grow setup checklist for a complete shopping list:
Grow light (LED recommended for beginners)
Clones need consistent, adequate light from day one — natural windowsill light usually isn't enough indoors.
Containers with drainage holes
Prevents waterlogging, which is one of the most common causes of early clone death. Fabric pots are a popular beginner choice for airflow. Start small — a 1–3 gallon pot is plenty for a fresh clone; oversized containers hold excess moisture the small root system can't use up, increasing the risk of root rot. Even if the end goal is an in-ground garden bed or a raised outdoor plot, start the clone in its small pot and give it 3–4 weeks to develop a strong root ball before transplanting into a larger space — this reduces transplant shock and gives the roots a head start.
Quality soil or growing medium
A light, well-draining soil mix designed for cannabis (or a soilless mix like coco coir) gives roots room to establish.
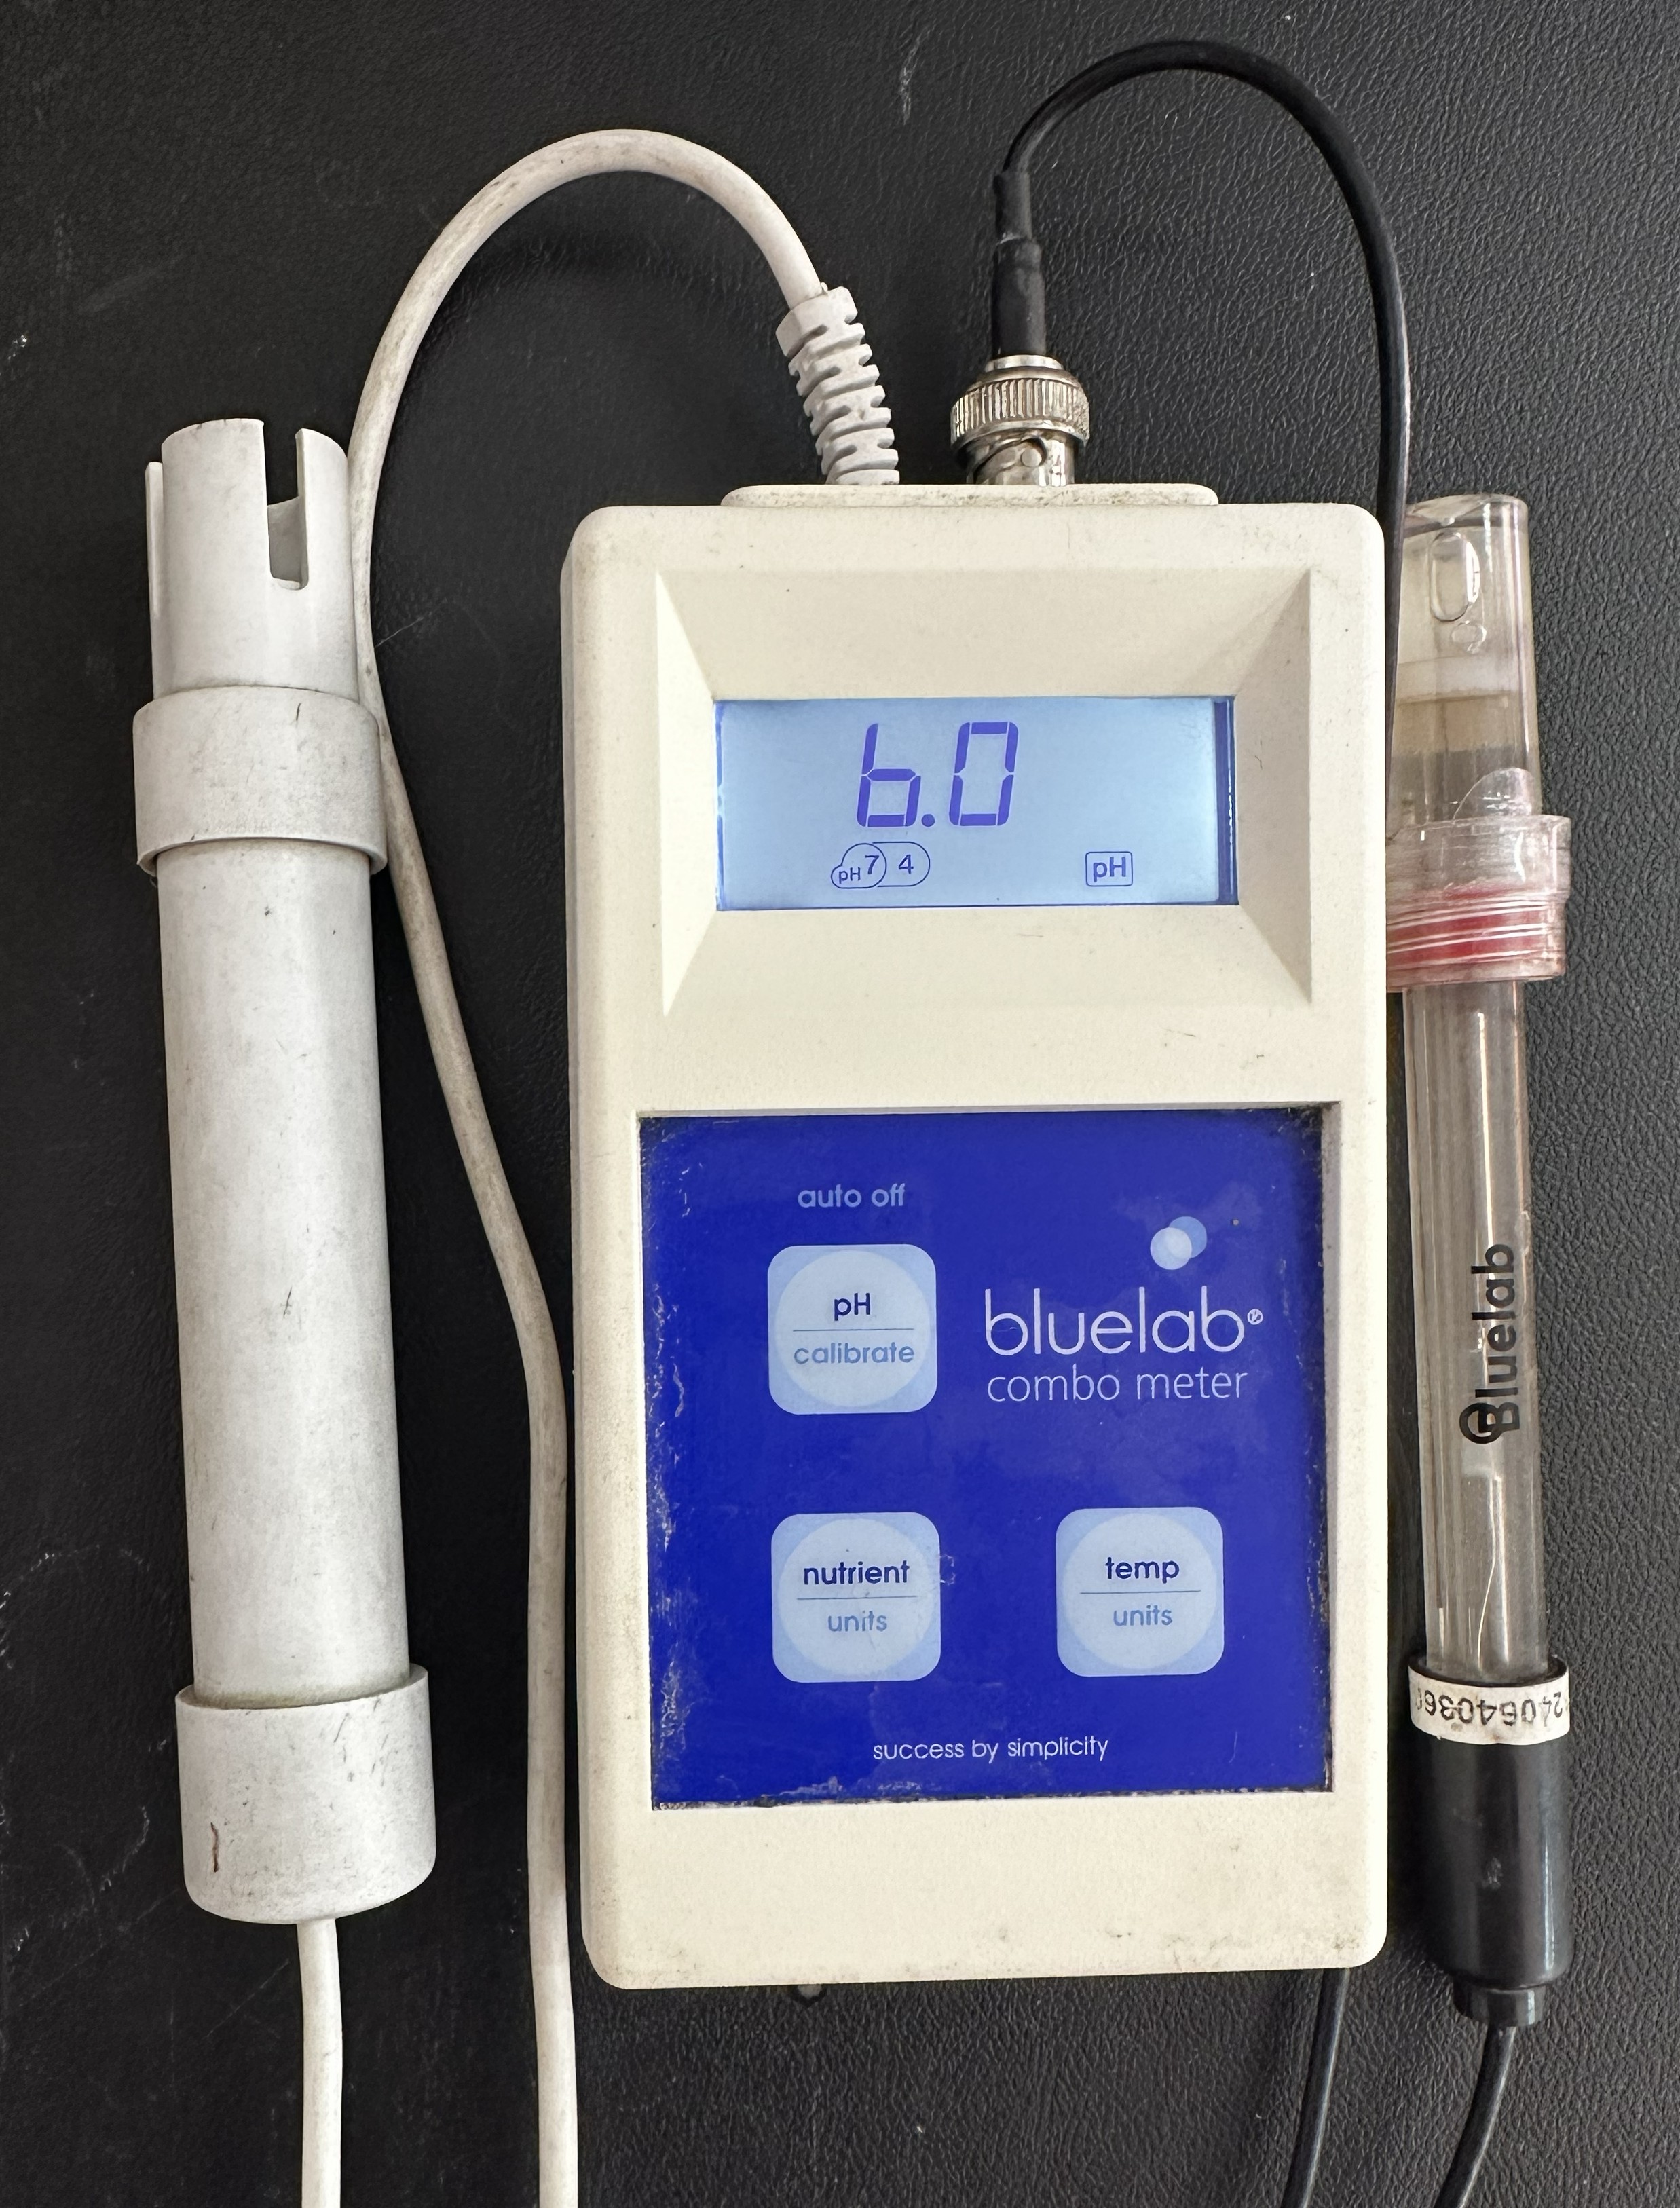
pH meter or test strips
Cannabis is sensitive to pH in the root zone; keeping it in the right range helps roots absorb nutrients properly. Target ranges differ by medium: soil, 6.0–6.8; coco coir, 5.8–6.2; hydroponic/DWC/aeroponic systems, 5.5–6.5 (many growers aim for the tighter 5.8–6.2 sweet spot). Hydro systems drift faster than soil, so check pH every 1–2 days with a digital meter rather than relying on test strips alone.
Hygrometer/thermometer
Clones are especially sensitive to humidity and temperature swings in their first days; a simple humidity/temp gauge helps you catch problems early.
Spray bottle
Used to mist new clones and maintain humidity while their root systems are still minimal.
Ventilation (small fan)
Gentle air movement strengthens stems and helps prevent mold, especially in an enclosed grow space.
Shade cloth (30–50% shade rating)
Fresh clones and even young transplants can get scorched or stressed by full, direct sun outdoors or in a greenhouse. Draping shade cloth over the first several days to a couple of weeks softens the intensity of midday sun while still letting in enough light, then can be removed gradually as the plant hardens off.
Mild vegetative nutrients
New clones need a light, diluted feed — full-strength nutrients can burn their still-developing root systems.
Beginners often overspend on equipment early. Start with these basics, get comfortable with one plant, and expand your setup (better lighting, climate control, etc.) as you gain experience. Our indoor lighting guide and training techniques overview (SCROG/LST) are worth bookmarking for when you're ready to level up.
4. Light Hours Requirement
Light schedule is one of the most important — and most misunderstood — parts of growing cannabis, because it directly controls how your plant grows and when it flowers.
- First 24–48 hours after bringing a clone home: Keep it under low-intensity or indirect light to reduce transplant stress. Clones are fragile immediately after a move, and strong light too soon can shock them.
- Vegetative stage: 18 hours light / 6 hours dark. Once your clone is settled and actively growing, it needs a long daily light period to fuel leafy, structural growth. This 18/6 schedule (some growers use 20/4) is the standard for the vegetative stage.
- Flowering stage: 12 hours light / 12 hours dark. Cannabis is a photoperiod plant, meaning it uses day length as its cue to start flowering. Switching to an even 12/12 split signals the plant that "autumn" has arrived, triggering it to move from vegetative growth into bud production.
- Consistency matters. Interruptions to the dark period during flowering (even brief light exposure) can stress the plant and cause problems like hermaphroditism. Keep your light schedule on a reliable timer rather than manual switching. Check our mold prevention tips if you're also managing humidity alongside your light schedule.
We'll cover exactly when to make the switch from 18/6 to 12/12 — and how to judge your plant's readiness — in Chapter 4: Transitioning to Flower.
Continue to Chapter 2: Rooting and Establishing Your Clone →